How To Create a Wireless Wall Sconce With Dollar Tree Items

Are you looking for an easy and affordable way to add some extra lighting to your home? In this tutorial, I’ll show you how to make a wireless wall sconce using items from Dollar Tree.
This project is simple, quick, and perfect for anyone who loves to DIY. Let’s get started!
This p
Tools and Materials:
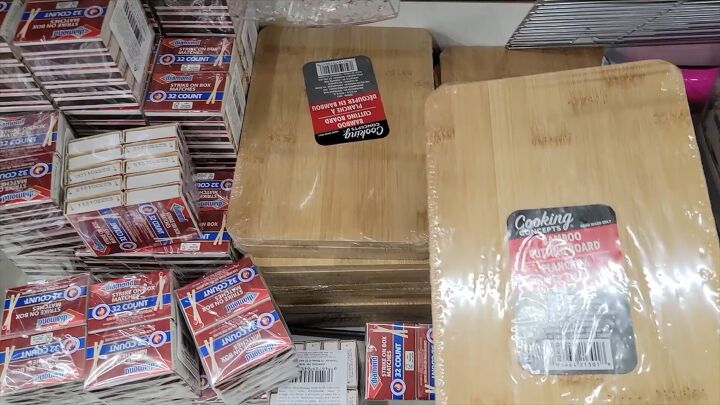
- Two bamboo cutting boards
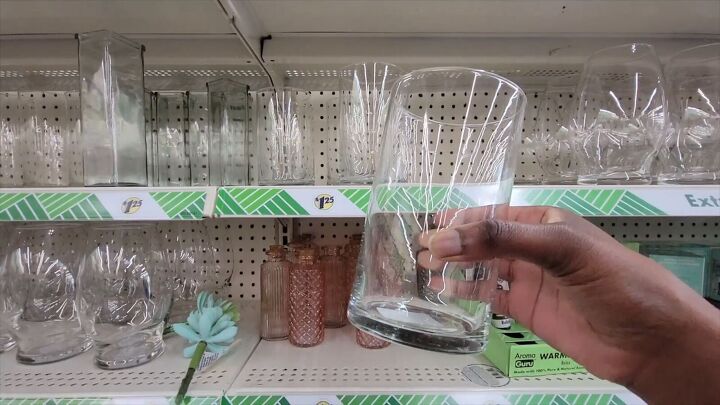
- Four glass jars
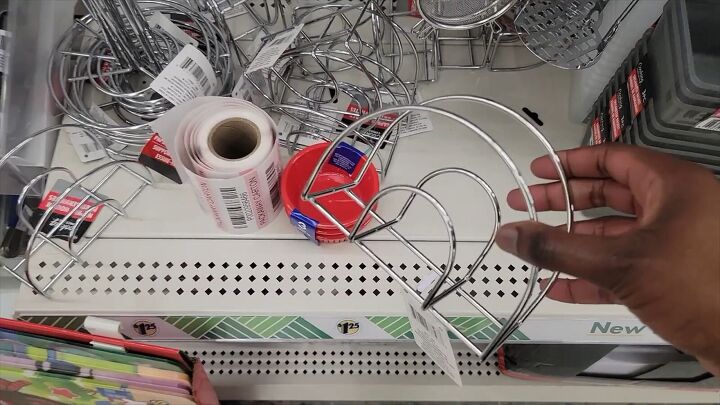
- Two napkin holders
- Strong adhesive glue
- Wall adhesive strips
- Battery-operated candles
Hometalk may receive a small affiliate commission from purchases made via Amazon links in this article but at no cost to you.
DIY wall light with bamboo cutting boards
1. Prepare Your Materials
First, gather all the materials you’ll need for your DIY wall sconce light.
How to make a wireless wall sconce
Head to the Dollar Tree to pick up two bamboo cutting boards, four glass jars, and two napkin holders.
Start your homemade light project with these simple items from the Dollar Tree
Trending Videos
Make sure you also have strong adhesive glue and wall adhesive strips on hand.
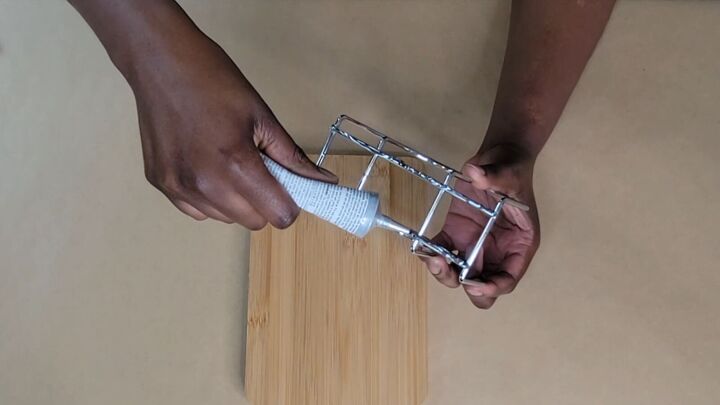
Applying glue to the metal bars of a napkin holder
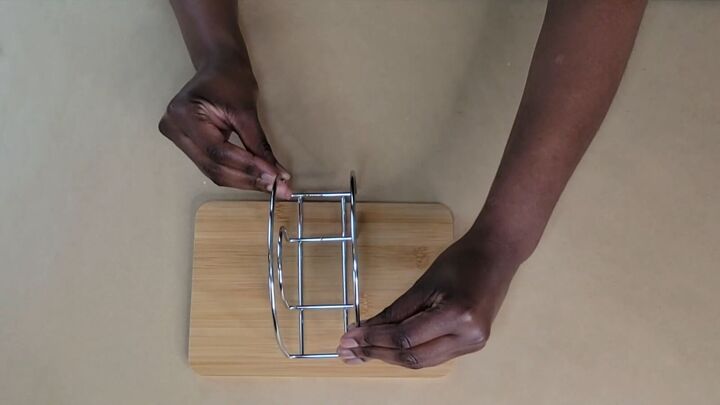
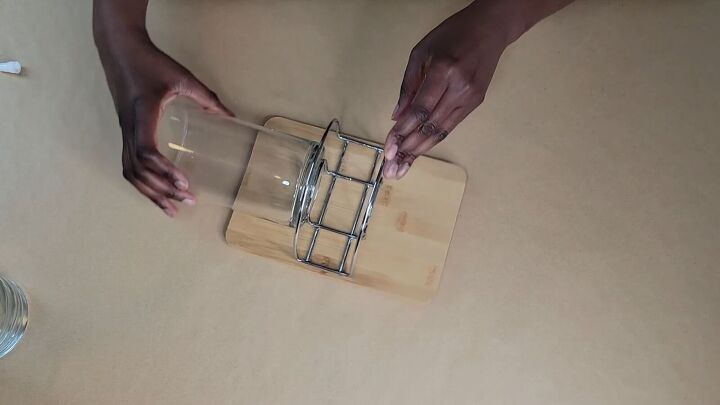
2. Attach the Napkin Holders
Take the first napkin holder and apply a generous amount of strong adhesive glue to the two metal bars on its bottom.
Easy homemade wall sconce project
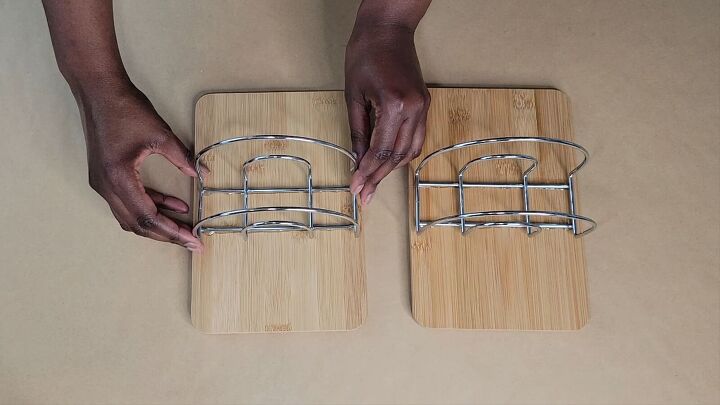
Secure the napkin holder to the bamboo cutting board
Carefully place it in the center of one bamboo cutting board. Repeat this process with the second napkin holder and the second bamboo cutting board.
Allow the glue to set for a few minutes.
Applying glue to the sides of the napkin holder
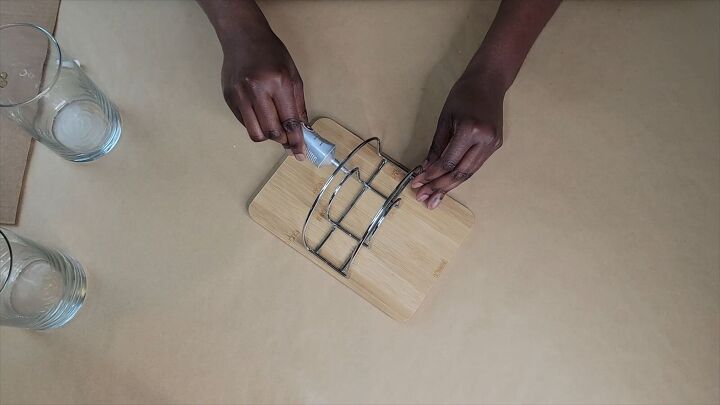
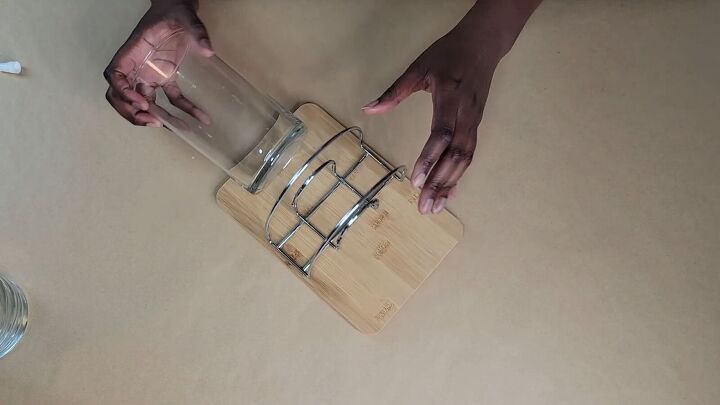
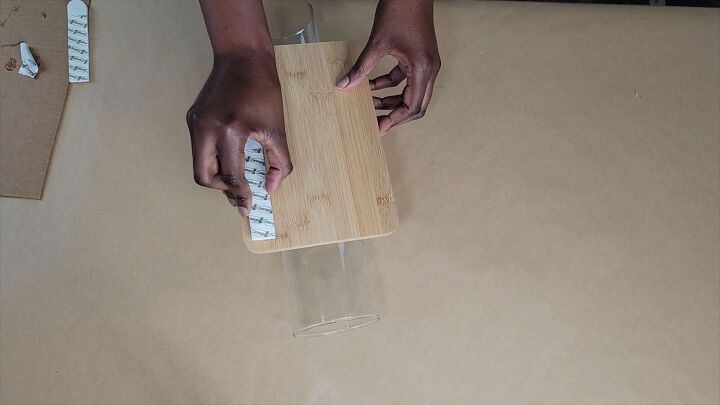
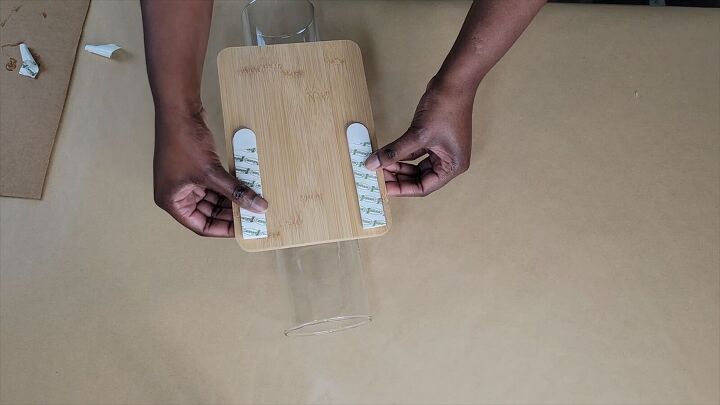
3. Secure the Glass Jars
Next, add more strong adhesive glue to the bottoms of your glass jars and the sides of the napkin holder.
Stick a glass container on either side of the napkin holder
Attach one jar on each side of the napkin holders. Ensure they are evenly spaced and securely glued.
Step-by-step DIY candle sconce light
Allow everything to dry overnight to ensure the adhesive is fully set.
Secure the wall adhesive strips to the back
4. Attach the Wall Adhesive Strips
Once everything is dry, flip the bamboo cutting boards over and attach the wall adhesive strips to the back.
Budget home decor
These strips will allow you to mount your new wireless wall sconce to the wall without the need for nails or screws.
Hometalk Recommends!
Make your own scones with these highly recommended glass battery candles that Amazon reviewers swear by!
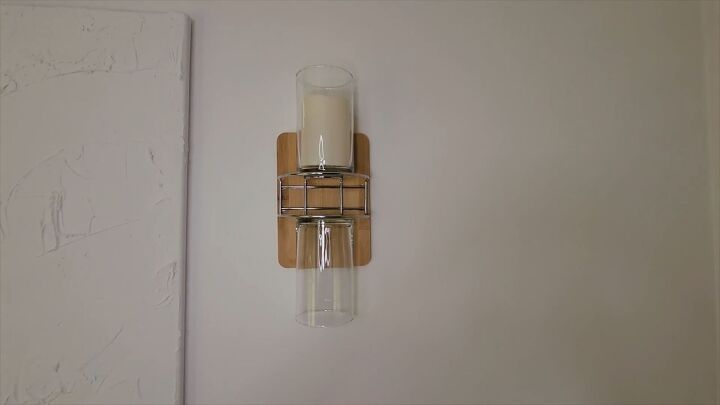
Battery-operated candle placed inside the top jar
5. Add the Finishing Touches
Finally, place a battery-operated candle inside each glass jar. This will give you the look of a candle sconce light without the risk of an open flame.
Now, your homemade light is ready to be hung on the wall!
Love creating your own lighting solutions?
Learn How to Create Unique Wall Sconces with plungers in this creative post!
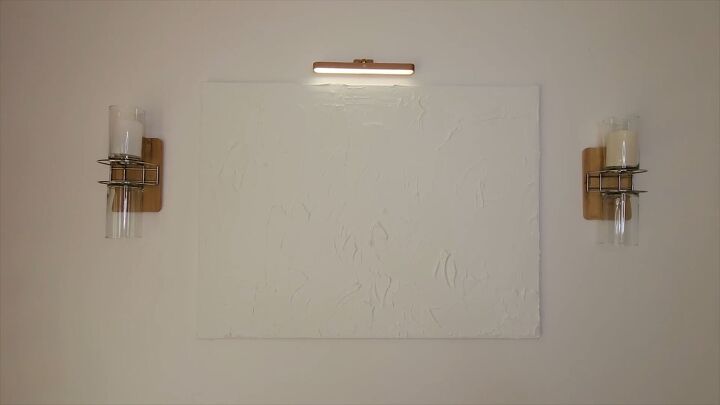
Enjoy the warm glow of your new wireless wall sconce
Wireless Wall Sconce Tutorial
This DIY wall light project proves that you don’t need expensive materials to create beautiful home decor.
By using affordable items from Dollar Tree, you can make a custom homemade light that fits your style perfectly. It’s a fun and rewarding project that anyone can do.
If you decide to try this tutorial, please leave a comment and share your photos with me. I’d love to see your unique designs!